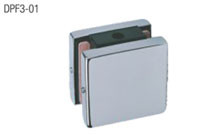
Ebco Shower Hinge 90° swings in and out a full 90 degrees, with stops at 0º, +90º, and –90º. Closing speed can be adjusted. This Shower hinge is used as a fix between glass and wall means the wall can hold the glass in shower cubicles with the help of this hardware.
*If you have any specific question related to the product, please contact us.
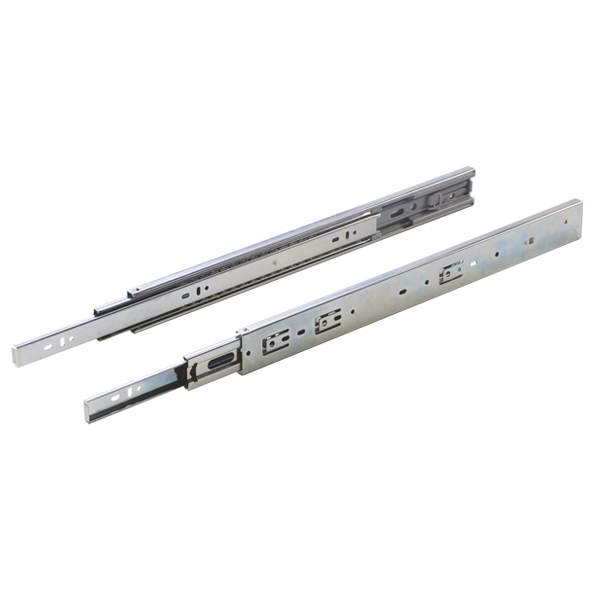
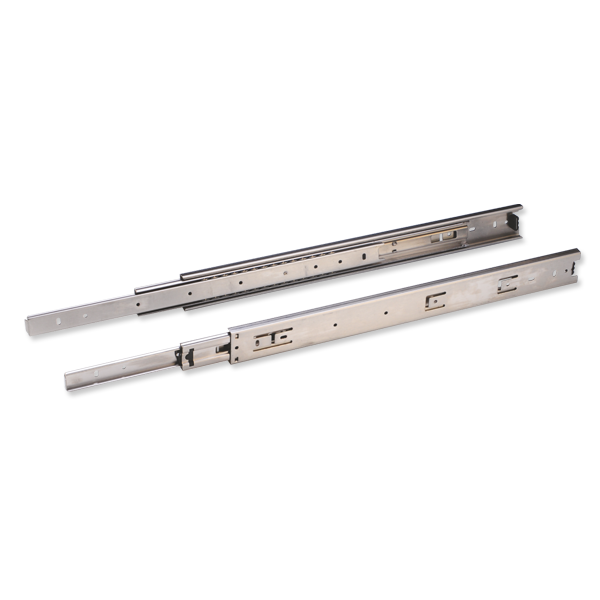
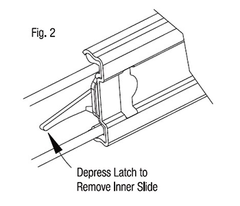
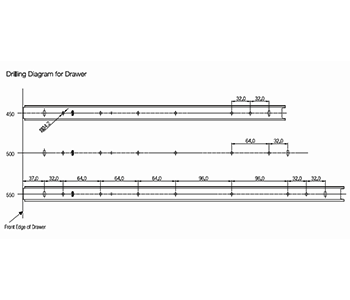
To install sleek telescopic drawer slide soft close 12.7 to13.0mm gap per side is required between cabinet and drawer. (Refer Fig. 1)Depress latch and remove the inner slide. (Refer Fig. 2)Fit outer (fixed) slide onto the inside of the cabinet, access to holes can be got through slots in intermediate slide.Slides should be fitted parallel and screws tightened fully to avoid gaps.Fit inner slide onto the outside of the drawer.Now slide the drawer with inner slide fitted on to the intermediate slides on the cabinet till the latch will automatically engage.
*If you have any specific question related to the product, please contact us.
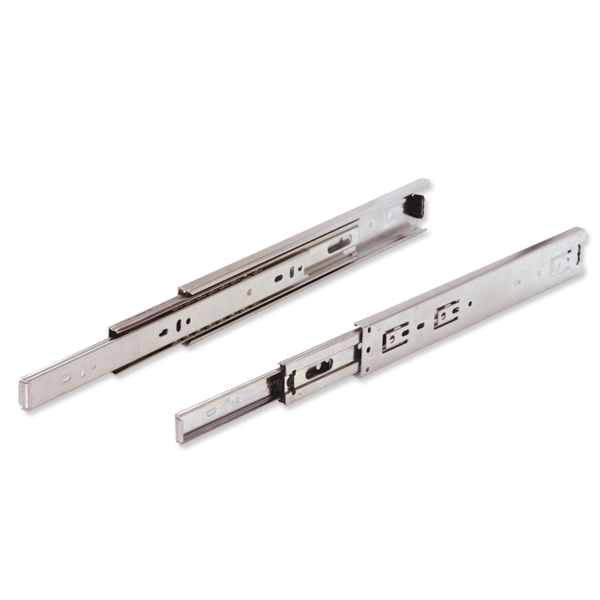
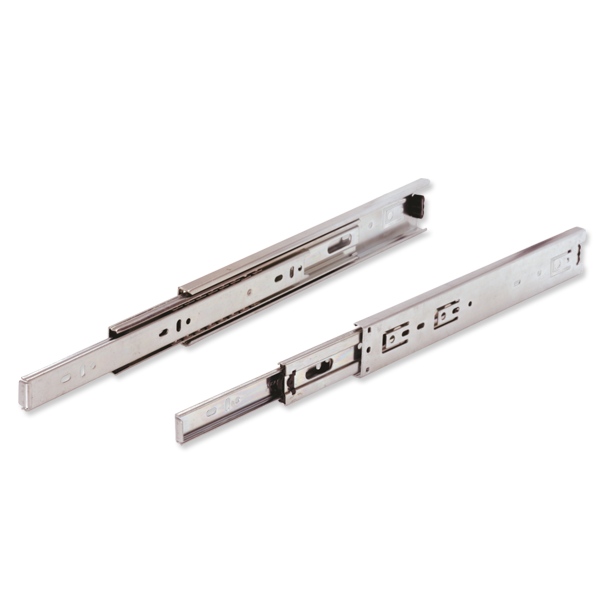
To install sleek telescopic drawer slide 12.7 to 13.0mm gap per side is required between cabinet and drawer. (Refer Fig. 1)Depress latch and remove the inner slide. (Refer Fig. 2)Fit outer (fixed) slide onto the inside of the cabinet, access to holes can be got through slots in intermediate slide.Slides should be fitted parallel and screws tightened fully to avoid gaps.Fit inner slide onto the outside of the drawer.Now slide the drawer with inner slide fitted on to the intermediate slides on the cabinet till the latch will automatically engage.
*If you have any specific question related to the product, please contact us.
To install sleek telescopic drawer slide 12.7 to 13.0mm gap per side is required between cabinet and drawer. (Refer Fig. 1)Depress latch and remove the inner slide. (Refer Fig. 2)Fit outer (fixed) slide onto the inside of the cabinet, access to holes can be got through slots in intermediate slide.Slides should be fitted parallel and screws tightened fully to avoid gaps.Fit inner slide onto the outside of the drawer.Now slide the drawer with inner slide fitted on to the intermediate slides on the cabinet till the latch will automatically engage.
*If you have any specific question related to the product, please contact us.
To install sleek telescopic drawer slide 12.7 to13.0mm gap per side is required between cabinet and drawer. (Refer Fig. 1)Depress latch and remove the inner slide. (Refer Fig. 2)Fit outer (fixed) slide onto the inside of the cabinet, access to holes can be got through slots in intermediate slide.Slides should be fitted parallel and screws tightened fully to avoid gaps.Fit inner slide onto the outside of the drawer.Now slide the drawer with inner slide fitted on to the intermediate slides on the cabinet till the latch will automatically engage.
*If you have any specific question related to the product, please contact us.
To install sleek telescopic drawer slide 12.7 to 13.0mm gap per side is required between cabinet and drawer. (Refer Fig. 1)Depress latch and remove the inner slide. (Refer Fig. 2)Fit outer (fixed) slide onto the inside of the cabinet, access to holes can be got through slots in intermediate slide.Slides should be fitted parallel and screws tightened fully to avoid gaps.Fit inner slide onto the outside of the drawer.Now slide the drawer with inner slide fitted on to the intermediate slides on the cabinet till the latch will automatically engage.
*If you have any specific question related to the product, please contact us.
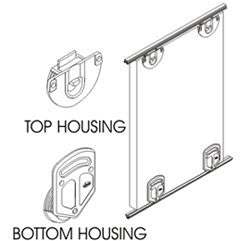
Use Ø35mm cutter to make cavities on the inside of shutter. (Refer Fig.1).Cavity should be 10mm deep.Fit top housing and bottom housing in top and bottom cavities respectively.Rail is fitted in a slot at top and bottom of cabinet. Groove should be 8mm wide and 6mm deep. (Refer Fig.2).Wheel of bottom housing should sit in bottom rail.Spring loaded guide in top housing is pulled down so as to engage in top rail there by retaining the shutter. (Refer Fig.3).
*If you have any specific question related to the product, please contact us.
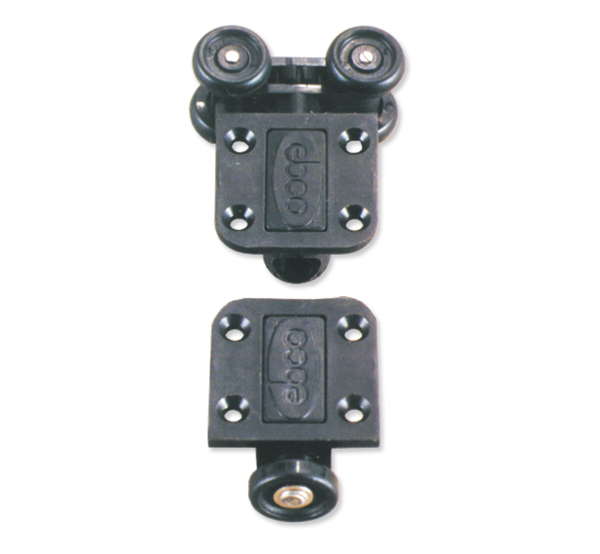
One set is for one sliding shutters.Set of two sliding fittings with four wheels, each are fitted on top rack. (Refer fig.1).Set of two sliding fittings with one wheel, each are fitted on bottom track. (Refer fig.2).Cavities for sliding fittings are made at the four extreme ends of shutter. (Refer fig.3).Center distance between two rails should be 40 mm min. (Ref. Fig.4) IMPORTANT: TO BE ORDERED WITH THE ALUMINIUM RAILS. CODE NO. SFFA1.
Fittings Instruction :- Standard model is provided with Hangers (2 nos.) Which are fitted at the top of the door (Ref. Fig. 1).The bottom guides (2 Nos.) are fitted on the floor. The groove required in the door is 9mm wide and 12mm deep (Ref. Fig 2.).The catch is fitted in the aluminium section at both ends and can be adjusted for pressure. (Ref. Fig 3).The door is hung on the sliding fitting and flange nut is tightened. Height adjustment of 14mm is available (Ref. Fig. 2).Optional wall mounting brackets are available. This is to be fitted every 600mm on aluminium section (Ref. Fig. 4).
Fittings Instruction :- Standard model is provided with Hangers (2 nos.) Which are fitted at the top of the door (Ref. Fig. 1).The bottom guides (2 Nos.) are fitted on the floor. The groove required in the door is 9mm wide and 12mm deep (Ref. Fig 2.).The catch is fitted in the aluminium section at both ends and can be adjusted for pressure. (Ref. Fig 3).The door is hung on the sliding fitting and flange nut is tightened. Height adjustment of 14mm is available (Ref. Fig. 2).Optional wall mounting brackets are available. This is to be fitted every 600mm on aluminium section (Ref. Fig. 4).