*If you have any specific question related to the product, please contact us.
Special Features
A unique new way to assemble a drawer by clipping on a matching back panel.
This not only improves the look of the drawer but also saves valuable time during assembly and brings down cost.
Tilt and remove capability with guiding.
Auto closing of drawer
Front fascia adjustment.
Precision rollers for smooth running.
'System 32' compatible.
Fitting Instructions
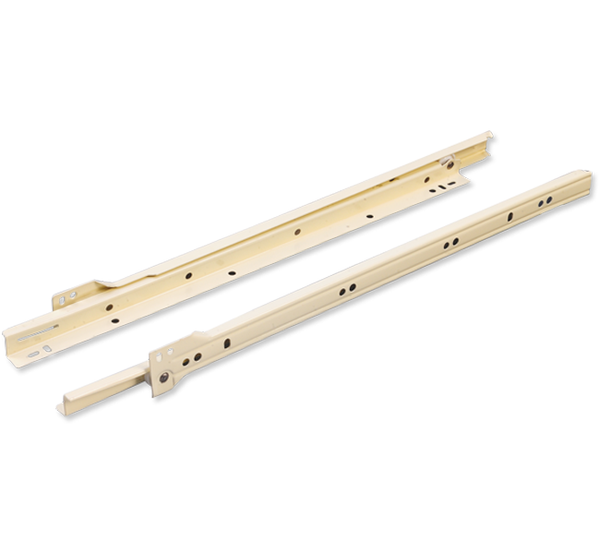
Side gap of 15.5mm is required and acts as side panel of drawer (Fig.1).
Eccentric Cam for front facia height adjustment provided in 86mm and 125mm height Full Panels with 6mm bottom track (Ref. Fig 2)
25.4mm clearance from top edge of drawer required to tilt and remove drawer (Refer Fig. 2).
Fixed slide should be set by 2mm for 'Auto-Closing' (Fig. 2).
Screws should be recessed to avoid fouling.
Fixed slides should be fitted parallel and at equal heights to each other.
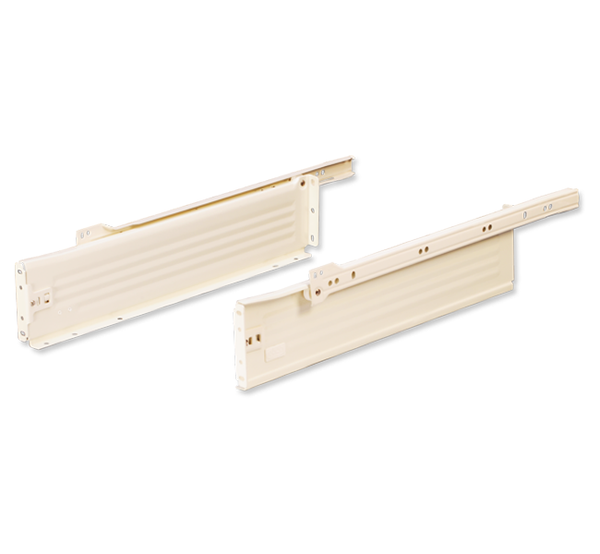
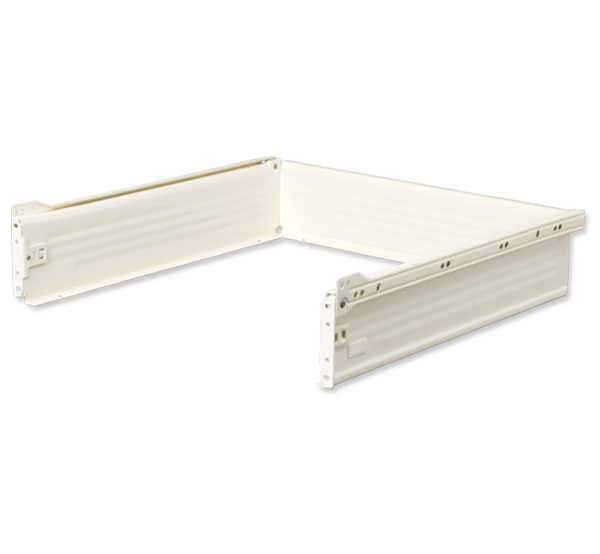
Insert the Rear panel onto the Side panels through the key slot provided in the side panels (Ref. Fig.3).
Place the bottom flap through the track provided in the Side panels and fix the front facia with the Bracket and insert the unit onto fixed slides which are fitted internal sides of cabinet (Ref. Fig.4).
*If you have any specific question related to the product, please contact us.
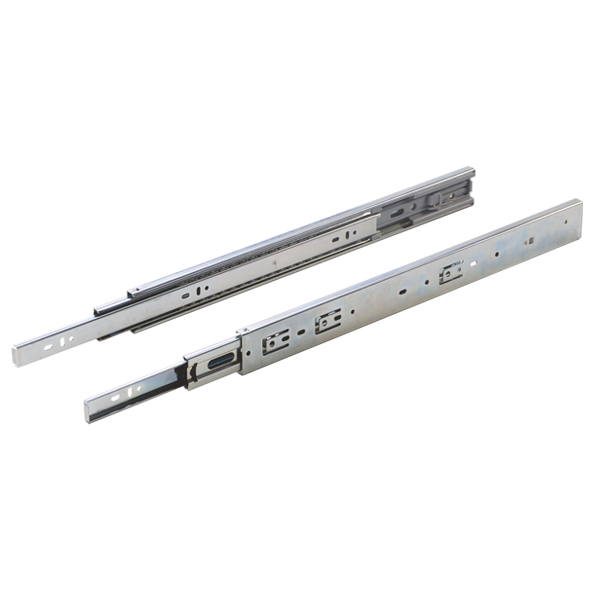
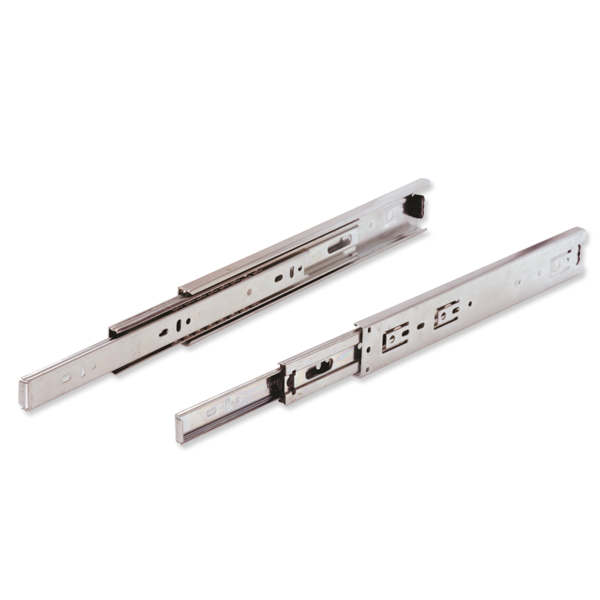
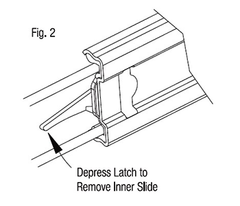
To install sleek telescopic drawer slide soft close 12.7 to13.0mm gap per side is required between cabinet and drawer. (Refer Fig. 1)Depress latch and remove the inner slide. (Refer Fig. 2)Fit outer (fixed) slide onto the inside of the cabinet, access to holes can be got through slots in intermediate slide.Slides should be fitted parallel and screws tightened fully to avoid gaps.Fit inner slide onto the outside of the drawer.Now slide the drawer with inner slide fitted on to the intermediate slides on the cabinet till the latch will automatically engage.
*If you have any specific question related to the product, please contact us.
To install sleek telescopic drawer slide 12.7 to 13.0mm gap per side is required between cabinet and drawer. (Refer Fig. 1)Depress latch and remove the inner slide. (Refer Fig. 2)Fit outer (fixed) slide onto the inside of the cabinet, access to holes can be got through slots in intermediate slide.Slides should be fitted parallel and screws tightened fully to avoid gaps.Fit inner slide onto the outside of the drawer.Now slide the drawer with inner slide fitted on to the intermediate slides on the cabinet till the latch will automatically engage.
*If you have any specific question related to the product, please contact us.
To install sleek telescopic drawer slide 12.7 to13.0mm gap per side is required between cabinet and drawer. (Refer Fig. 1)Depress latch and remove the inner slide. (Refer Fig. 2)Fit outer (fixed) slide onto the inside of the cabinet, access to holes can be got through slots in intermediate slide.Slides should be fitted parallel and screws tightened fully to avoid gaps.Fit inner slide onto the outside of the drawer.Now slide the drawer with inner slide fitted on to the intermediate slides on the cabinet till the latch will automatically engage.
*If you have any specific question related to the product, please contact us.
To install sleek telescopic drawer slide 12.7 to 13.0mm gap per side is required between cabinet and drawer. (Refer Fig. 1)Depress latch and remove the inner slide. (Refer Fig. 2)Fit outer (fixed) slide onto the inside of the cabinet, access to holes can be got through slots in intermediate slide.Slides should be fitted parallel and screws tightened fully to avoid gaps.Fit inner slide onto the outside of the drawer.Now slide the drawer with inner slide fitted on to the intermediate slides on the cabinet till the latch will automatically engage.